Reading Time: 9 minutesDespite being released back in October 2009, Windows 7 is still the second most popular operating system in the world, holding a considerable 22.71 percent share of the desktop OS market. If you’re one of the hundreds of millions of loyal Windows 7 users who see little to no reason to upgrade, then this article is for you.
In this detailed Windows 7 vs. Windows 10 comparison, we explain all important differences between the two operating systems to help you understand why upgrading to the latest version of Microsoft’s operating system is the smart choice in terms of performance, usability, security, and more.
News Alert: Windows 7 Support Has Officially Ended
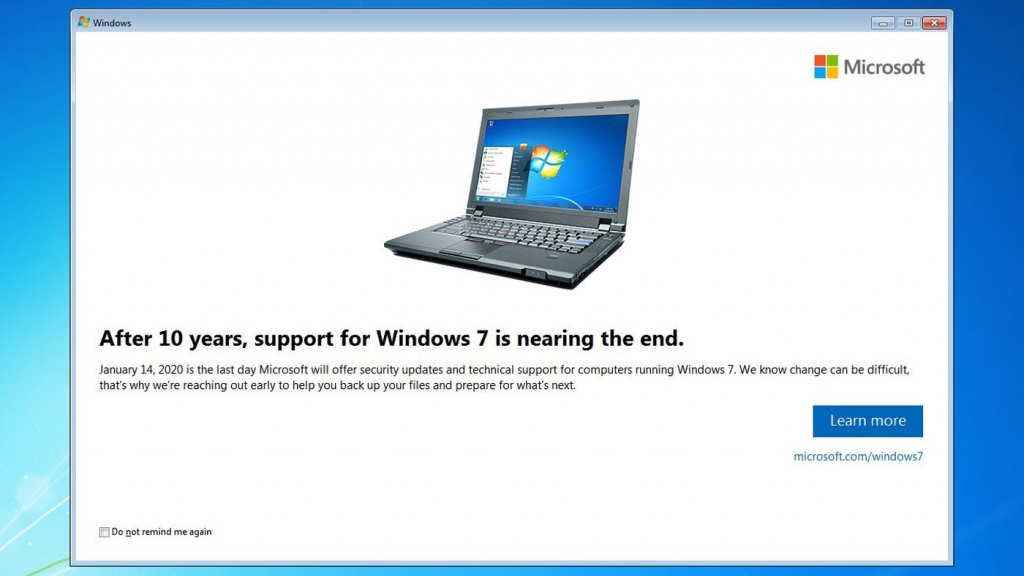
“After 10 years, support for Windows 7 ended on January 14, 2020,” states Microsoft on its website. “If you continue to use Windows 7 after support has ended, your PC will still work, but it will become more vulnerable to security risks and viruses because you will no longer receive software updates, including security updates, from Microsoft,” the software giant adds.
The end of Windows 7 support wasn’t a surprise because it’s well-known that Microsoft provides around a decade of custom support for its operating systems. In fact, there will still be some updates for Windows 7, but they will be available only to organizations that purchase Windows 7 Extended Security Updates (ESUs).
Regular users are strongly encouraged to update to the latest version of the Windows operating system, and do so as soon as possible. However, many are reluctant to do so because they don’t see any benefits and fear that Windows 10 is just as unstable and unusable as Windows 8. In the next chapter of this article, we compare Windows 7 with Windows 10 to explain why upgrading makes sense.
Top Differences Between Windows 7 and Windows 10

The first version of Windows 10 arrived in July 2015, six years after Windows 7 hit the shelves and three years after the release of Windows 8. In many ways, Windows 10 aims to fix the numerous issues users had with Windows 8 and convince everyone that Microsoft still cares about desktop users and understands their needs and priorities.
Available Editions
Microsoft has always been offering multiple editions of its desktop operating system to target various use cases. With the release of Windows 10, the number of available editions increased significantly as Microsoft started offering special editions for use on specific classes of devices.
The table below lists all Windows 7 and Windows 10 editions:
| Windows 7 Editions | Windows 10 Editions |
| Windows 7 Starter | Windows 10 Home |
| Windows 7 Home Basic | Windows 10 Pro |
| Windows 7 Home Premium | Windows 10 Pro for Workstations |
| Windows 7 Professional | Windows 10 S |
| Windows 7 Enterprise | Windows 10 Education |
| Windows 7 Ultimate | Windows 10 Pro Education |
| Windows 10 Enterprise | |
| Windows 10 Enterprise LTSC | |
| Windows 10X | |
| Windows 10 IoT | |
| Windows 10 Team |
For some time, Microsoft was also offering Windows 10 Mobile, Windows 10 Mobile Enterprise, and Windows 10 IoT Mobile, but these editions were discontinued with the release of Windows 10 version 1803.
Most regular users of Windows 7 Home Basic and Premium are expected to upgrade to Windows 10 Home, which is designed for use in PCs and laptops and includes all features directed at regular consumers. Users of Windows 7 Professional and Windows 7 Ultimate should choose between Windows 10 Pro and Windows 10 Pro for Workstations depending on whether they need support for certain workstation-grade hardware, such as Intel Xeon or AMD Opteron processors.
Performance
Windows 7 and Windows 10 have completely identical hardware requirements, suggesting that their performance is roughly the same:
- CPU: 1 gigahertz (GHz) or faster 32-bit (x86) or 64-bit (x64) processor
- RAM: 1 gigabyte (GB) RAM (32-bit) or 2 GB RAM (64-bit)
- HDD: 16 GB available hard disk space (32-bit) or 20 GB (64-bit)
- GPU: DirectX 9 graphics device with WDDM 1.0 or higher driver
In reality, Windows 10 users can expect better performance in most real-life situations, including:
- Booting: Windows 10 includes a feature called Fast Startup, whose purpose is to reduce the time it takes the computer to boot up from being fully shut down by saving the operating system state to a hibernation file.
- Sleep and wake up: ITworld tested the sleep/wake up performance of Windows 10 versus 7 and discovered that the newer operating system wakes up an impressive seven seconds faster, which is an impressive difference, especially for laptop users.
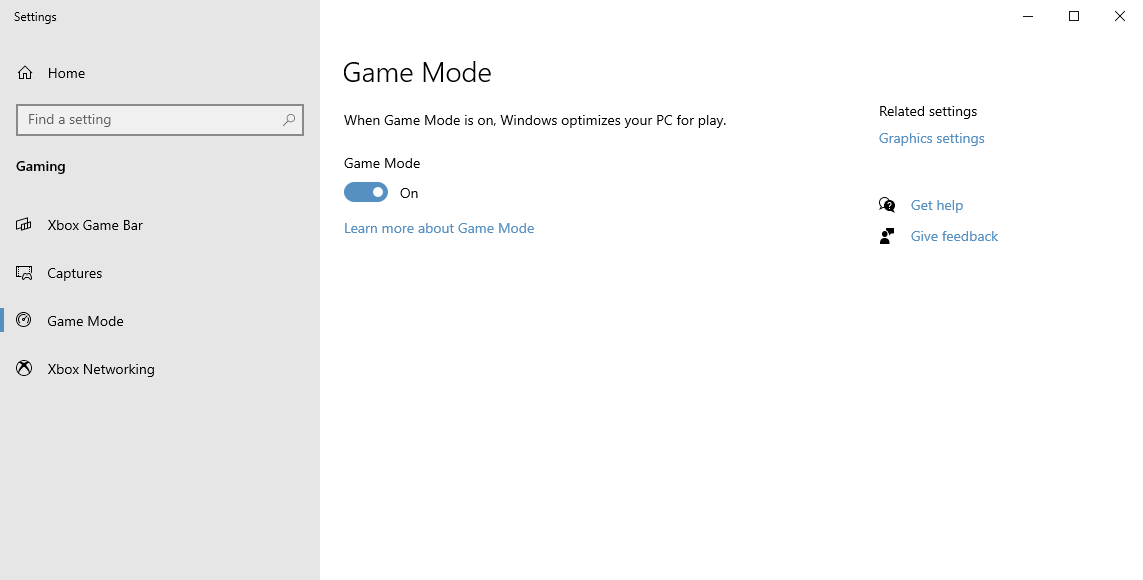
- Application performance: Microsoft has optimized Windows 10 for both application and gaming performance. Users can activate Game Mode to temporarily disable performance-draining processes when playing graphics-intensive games or using demanding applications, such as Adobe Photoshop or Premiere.
Overall, Windows 10 can outperform Windows 7 on modern hardware, so anyone who meets or exceeds the minimum specifications shouldn’t be afraid to make the switch.
Design
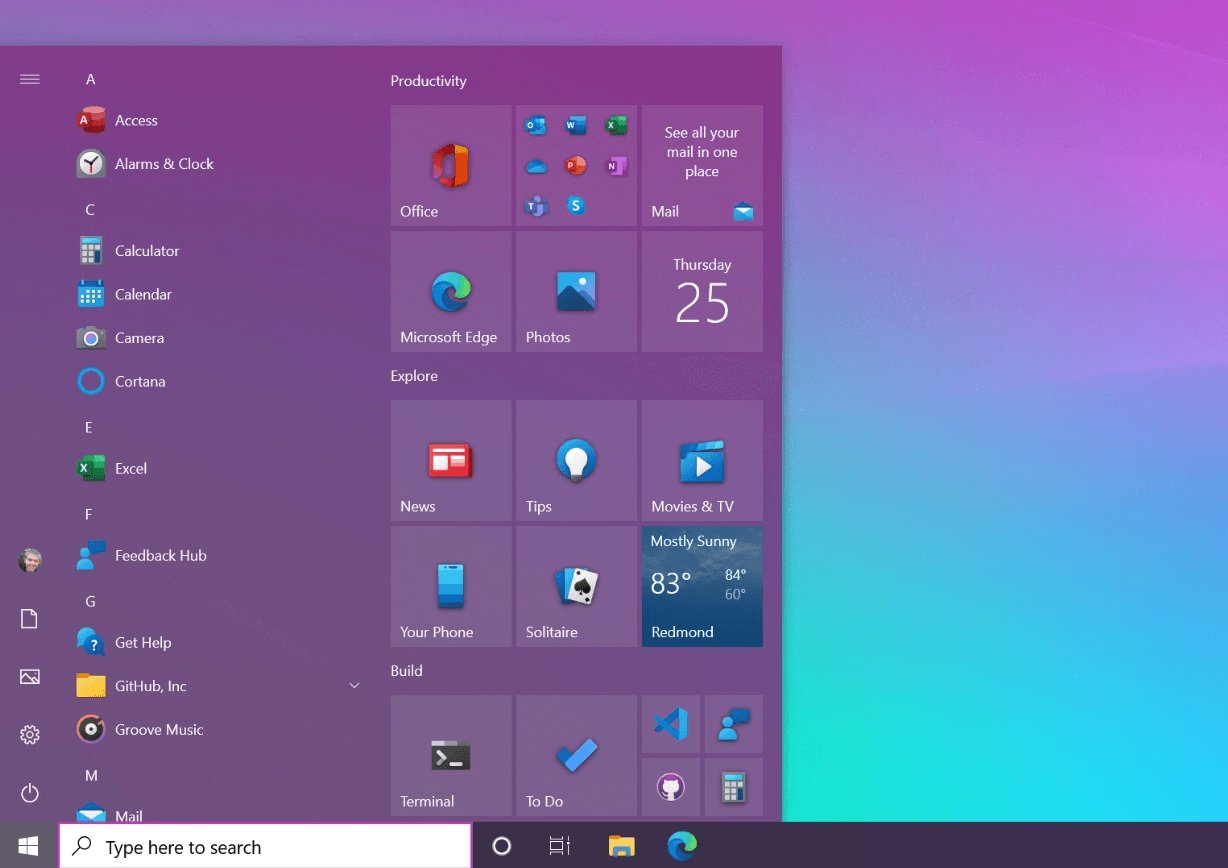
The design of Windows 10 has more in common with Windows 7 than it does with Windows 8. Gone is the hated full-screen Metro user interface, with large app tiles and bold colors. Instead, Microsoft went back to the familiar Taskbar and enhanced it in many important ways.
The Start Menu is now divided into two distinct areas, with recently added applications occupying the left side and Windows 8-like app tiles on the right. The app tiles can show various useful information, such as the current weather or the latest news, and users can customize them according to their preferences or even remove them completely.
There’s now an entire notification area, called the Action Center, which provides convenient access to all system and application notifications, as well as commonly used options, such as Airplane Mode or network settings.
Windows 10 can be personalized with a wide variety of themes from the Microsoft Store (more about it later). The available themes bundle desktop background pictures, window colors, and sounds into a single package, allowing you to completely change the look of your system with a single click. The default theme is available in a regular and dark version, and you can switch between them from Settings > Personalization > Colors.
Features
Just like every new version of the Windows operating system, Windows 10 introduced a whole host of new features aimed at regular and power users alike. Here are some features all users who are considering upgrading from Windows 7 should know about:
- Cortana: Microsoft’s voice-controlled digital assistant helps you save time and focus attention by allowing you to open applications, search files, set reminders, manage your calendar, and much more with your voice.
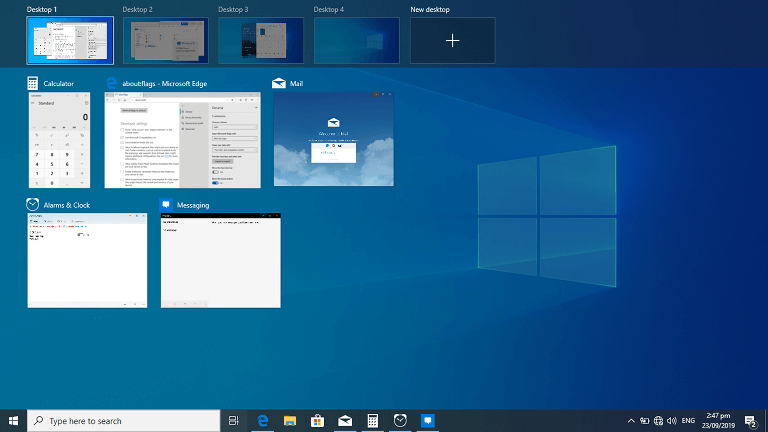
- Improved multitasking: Multitasking has been significantly improved in Windows 10, and users are now able to create multiple virtual desktops and seamlessly switch between them directly from the Taskbar or using keyboard shortcuts. Microsoft also improved its Snap View feature to make it easier for users to organize multiple windows on the screen.
- Snip & Sketch: Intended as a replacement for Microsoft’s Snipping Tool, Snip & Sketch is a handy screenshot utility that lets you take a screenshot of anything on your screen with a press of the Win + Shift + S shortcut. You can capture a specific area, a single application, or the entire screen, and do basic editing.
- Microsoft Edge: The new web browser in Windows 10 uses the same engine as Google Chrome, which gives it excellent compatibility with modern websites and web standards. Its performance far exceeds the performance of Internet Explorer, the default web browser in Windows 7.
- Your Phone app: With this app, Windows users can make and receive calls, manage notifications, and access their smartphone pictures right on their PC. The app works with all Android devices running Android 7.0 or later, and it’s available for free from the Microsoft Store.
- DirectX 12: Thanks to the latest version of DirectX, gamers can enjoy realistic visuals and improved gaming performance. The list of games that support DirectX 12 has grown considerably since the release of Windows 10, and it includes titles such as Battlefield 1, Ashes of the Singularity, Civilization VI, Cyberpunk 2077, FIFA 20, Forza Horizon 4, Hitman, and Star Wars Battlefront II.
Best of all, Microsoft has been introducing new features with regular feature updates since the release of the initial version of Windows 10.
Support
Microsoft supports its operating systems for 10 years (at least five years of Mainstream Support, followed by five years of Extended Support). Enterprise customers can pay for extended security updates, but this option isn’t available to regular home users.
Since Windows 10 was released in 2015, its extended support should end in 2025, but things aren’t that simple. With the release of Windows 10, Microsoft switched to a continuous update mode, releasing smaller OS feature updates that contain new features on a regular basis and quality updates that include bug fixes and security issue resolutions as needed.
For Windows 10 users to keep receiving security updates, they must install feature updates when they become available. Here’s how the current support timeline looks like:
| Edition | Support timeline Released first half of year (H1) |
Support timeline Released second half of year (H2) |
| Windows 10 Enterprise | 18 months from the release date | 30 months from the release date |
| Windows 10 Education | ||
| Windows 10 IoT Enterprise | ||
| Windows 10 Pro | 18 months from the release date | |
| Windows 10 Pro Education | ||
| Windows 10 Pro for Workstations | ||
| Windows 10 Home |
 Security
 Security
The obvious benefit of using Windows 10 over Windows 7 is the availability of security updates, but there’s a lot more the newest version of Microsoft’s operating system has to offer when it comes to defending its users against cyber threats.
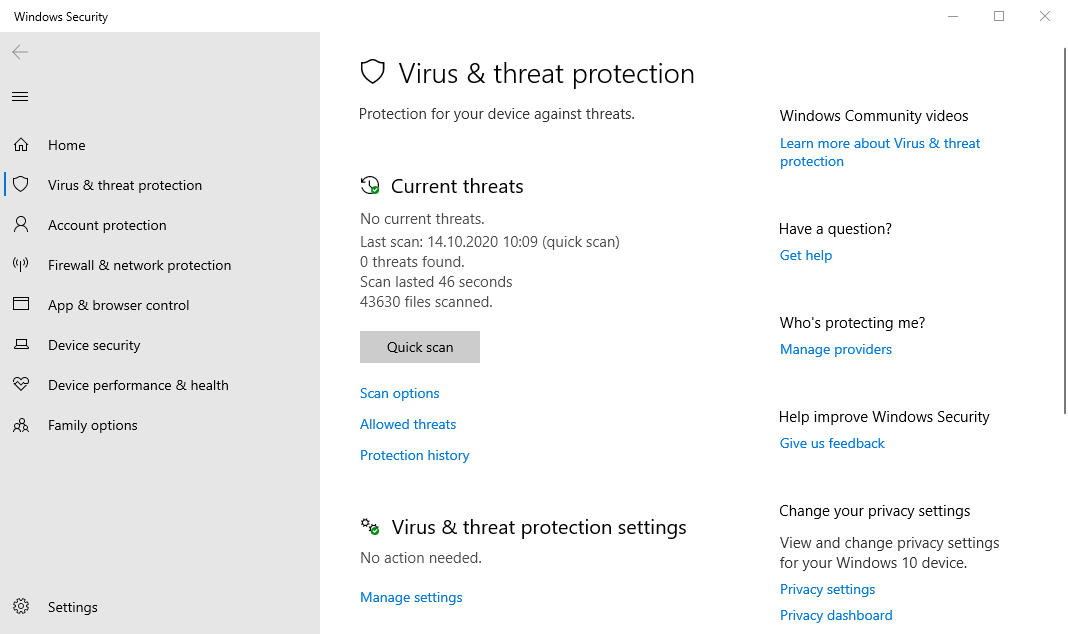
Included in Windows 10 is the latest version of Microsoft Defender Antivirus, which offers best-in-class protection against software threats like viruses, malware, and spyware across email, apps, the cloud, and the web. This state-of-the-art antivirus is completely free and designed to run quietly in the background while consuming as little resources as possible.
Instead of relying on clumsy passwords, Windows 10 users can quickly and easily log in using a PIN or with their face or fingerprint thanks to Windows Hello technology. The same technology extends the new authentication methods across compatible third-party apps, such as Dropbox and iHeartRadio.
Compatibility
As compelling as the above-described advantages of Windows 10 are, they pale in comparison with the simple fact that increasingly many applications and games are not compatible with Windows 7.
If you depend on a specific piece of software that no longer works on Windows 7, your only option is to update. For example, there’s no way how to install the current version of Microsoft’s productivity suite, Office 2019, on a computer with Windows 7. Likewise, games like Forza Horizon 4 only run on machines with a recent version of Windows 10.
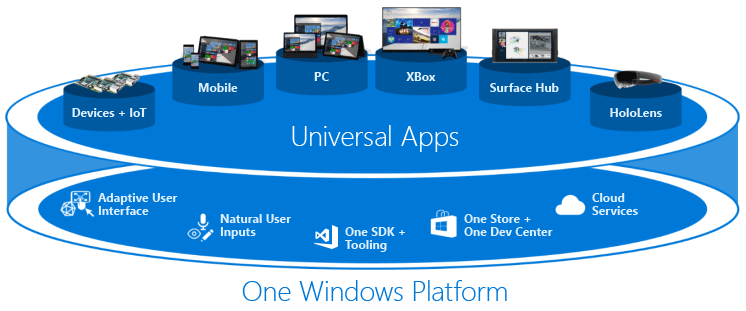
Above all else, you need Windows 10 to install modern Universal Windows Platform (UWP) apps from the Microsoft Store. Such apps are designed with security in mind, and they support both the mouse and keyboard as well as touch input.
How to Switch from Windows 7 to 10
The good news is that switching from Windows 7 to 10 is not nearly as difficult as it may seem. Here’s what you need:
- Computer running Windows 7
- Windows 10 media creation tool
- (Optional) USB flash drive
You also need to meet the minimal hardware requirements for Windows 10 (listed earlier in this article). Once you’ve checked all the boxes, you can follow these steps:
Step 1. Download and run the Windows 10 media creation tool
First, download the Windows 10 media creation tool from Microsoft’s website. Open the downloaded file as an administrator and accept the license terms.
Step 2. Choose the “Upgrade this PC now” option
On the next page, choose the “Upgrade this PC now” option and wait for the Windows 10 media creation tool to download a copy of Windows 10 to your computer.
Step 3. Install Windows 10
The Windows 10 media creation tool will walk you through how to set up Windows 10 on your computer and let you choose whether you would like to Keep personal files and apps, or Keep personal files only, or choose to keep Nothing during the upgrade. When you’ve made your decision, click Install and don’t turn off your computer until the installation has finished.
To install Windows 10 on a different computer, simply select “Create installation media (USB flash drive, DVD, or ISO file) for another PC” instead of “Upgrade this PC now.” Then, follow the instructions provided by the Windows 10 media creation tool to complete the installation.